


How to make a Minecraft server website in your hosting panel
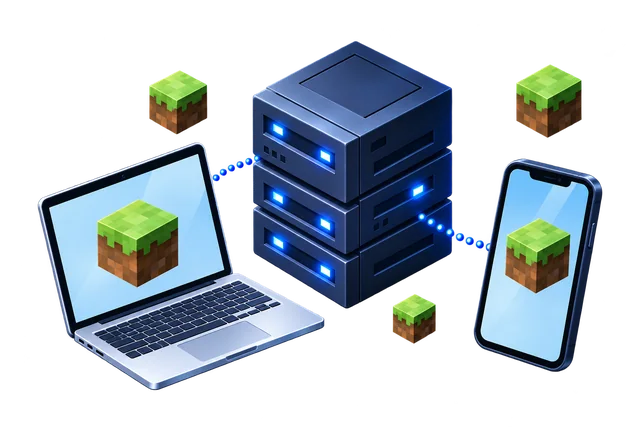
To make a Minecraft server website in your hosting panel, you need a plan with 8 GB of RAM or more at Astroworld Hosting or Lodehost, where the website builder is a tab on your server. It takes six steps:
- Get a plan with 8 GB or more. At Astroworld Hosting any edition works, and at Lodehost a Java or Crossplay plan from Starter up. The website comes with the server, so there is nothing extra to order.
- Open the Website tab and choose a design. Sign in to the panel, open your server and click Website. Survival is the free design, and the six others are part of the paid tier.
- Set the name and the web address. Use the name of your server and keep the address short. Choose it before you share the link, because an address that changes breaks every link to the old one.
- Write your own text and add sections. The site opens with your server name and address filled in, plus example text. Replace every heading, button and paragraph, then add the sections you need, such as rules, ranks, a gallery and your Discord. Leave the status section as it is, because it fills itself in.
- Press Publish. The site goes through a content check and a person at the host, usually within a few hours, and then it is online with https.
- Share the link. Add the address of the site to your server list pages, your Discord and your video descriptions, so new players find it.
Changes later work the same way. You edit the site, save a draft that only you can see and publish again when you are ready, while the version that is online stays up during the review. Which plans come with the builder is on our page about the free Minecraft server website.
Minecraft server website ideas: what to put on it
The best Minecraft server websites put the join address, the type of server and the rules on the first screen, because that is what new players come for. After that, add what makes your server worth joining. These ideas work for most servers:
- The address and the version. Show the address players type and the Minecraft version at the top. On a crossplay server, add the Bedrock address and port as well.
- What kind of server it is. Survival with land claims, a whitelisted SMP, skyblock or a modpack: say it in the first line, and name the modpack and its version if you run one.
- Your rules. Keep them short and concrete. Ten rules that players remember work better than forty that nobody reads.
- Ranks and what they give. Show the perks of each rank before the price. Under Mojang's Minecraft Usage Guidelines you can sell cosmetics, except capes, and perks that change gameplay only when they give no competitive advantage.
- Discord and vote links. Link your Discord and the server lists you are on, so players can join the community and vote for you.
- Screenshots and news. A gallery of builds and a short post for each update show that the server is alive.
Leave out what you cannot keep up to date. A news section whose last post is half a year old makes visitors think the server is dead, even when it is full every evening.
How to show your Minecraft server status on a website
The easiest way to show your Minecraft server status on a website is the status section of the website builder at Astroworld Hosting or Lodehost, which reads the address, the online status, the version and the players online straight from your server. You do not have to set anything up for it.
On a website you build yourself, you need a status API or an embed instead. Free services such as mcsrvstat.us look up any public Minecraft server and return whether it is online, its version and its player count, and a few lines of JavaScript can put that on your page. Keep the server address in one place in your code, so that a new address means one change instead of ten.
Other ways to make a Minecraft server website
Besides the builder in your hosting panel, you can make a Minecraft server website with a general website maker or with a template that you host yourself. Both work with a server at any host, and both take more work to keep the server details correct.
A general website maker gives you more freedom in the layout, but it knows nothing about your server. You type the address, the version and the player count yourself and change them after every update. On the free plans of most website makers, your site also shows their advertising and uses their address.
A template from GitHub is free and gives you full control, because you edit the HTML yourself and host the files, for example on GitHub Pages. WordPress with a Minecraft theme suits servers that also want a blog or a forum, but you have to keep WordPress and its plugins updated. Our guide to Minecraft server website templates compares these options with the designs in the hosts' builders.
How to promote your Minecraft server with a website
To promote a Minecraft server, put the link to its website everywhere new players look: on the server lists you are on, in your Discord, and in the descriptions of your videos and posts. One address that leads to the join address, the rules and the Discord is easier to share than three separate links.
Search engines can find the free website, because a published site has its own title, description and canonical address. Put your server name and the type of server in the first line, such as "Oakridge SMP, a whitelisted Java survival server", because that is close to what people type when they look for a server like yours. Keep the web address the same from the day you publish, so the links that point to it keep working.